Battery Type/'s
-Lithum 100AH 3.3KW Charger-Lithum 200AH 3.3KW Charger
-Lithum 100AH 6.6KW Charger
-Lithum 200AH 3.3KW Charger
Manufacture Dates
Between 09/24/2012 Thru 12/31/2024
This is the instructions for installing lithium diagnostic program onto your computer.
First this will require your own windows-based computer (preferably a laptop) and e-ride programming cables part# U5665A & U5666A. The program cable will plug into the black connector located just above the accelerator pedal. This type of connector is referred to as an OBDII connector.
To install the program on your computer, follow these steps.
Note: Your computer must have administrative rights. As far as your computer is concerned, we are unable to assist in computer issues. You will need to figure out any issues you encounter on your own by either contacting your computer IT department or searching the web for answers. This program does require JAVA.
BMS will be used as short and stands for "battery management system".
If vehicle is 2019 and newer download BMS utility program by clicking this link
BMS located under driver's seat will be silver in color.
If vehicle is older than 2019 download BMS utility program by clicking this link
BMS located under driver's seat will be black in color.
Note you can install both programs if needed as well.
A driver for the cable is required and downloaded by clocking this link
Links are a direct download link. So, it depends on how your web browser is setup. It may ask were to save the file or just download it to your pre-determined location. You will need know where this file is being saved.
Open this new downloaded file. It will be named something like "CDM212364_Setup.exe" Icon will look like this:

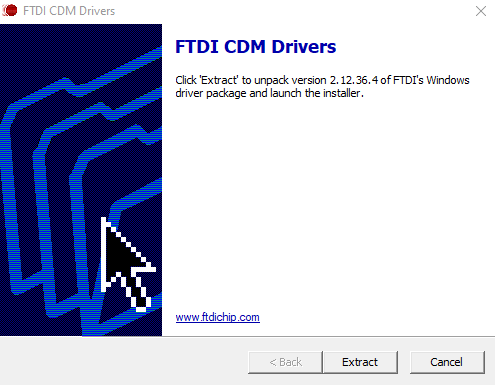 Click Extract
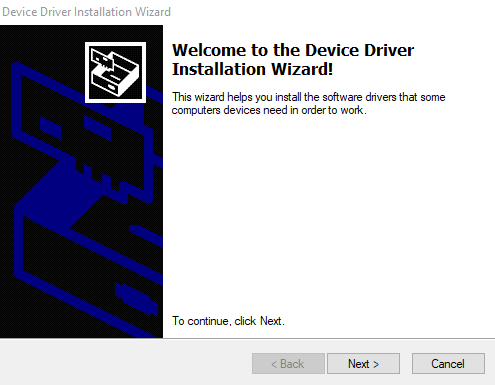 Click Next
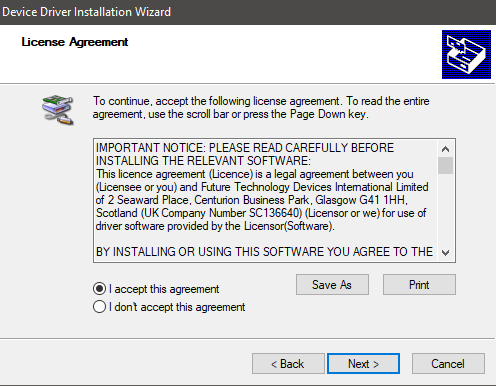 Check box as shown.
Click Next
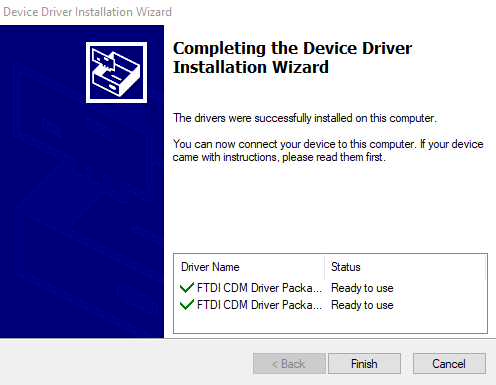
Installation will take place and this window should be shown. Click Finish
Driver installation completed.
Open this new downloaded file. It will be named "orionbms2_utility_stable.exe" for the newer version or "orionbms_utility_stable.exe" for the older version. Icon will look like this:

May get a warning such as this:

If so, click "More Info" then on next window "Run anyway"
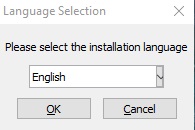 Select language and click OK
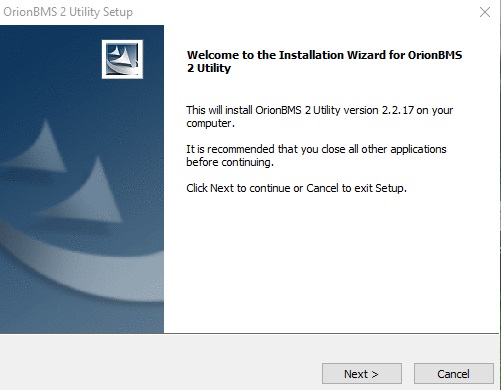 Click Next
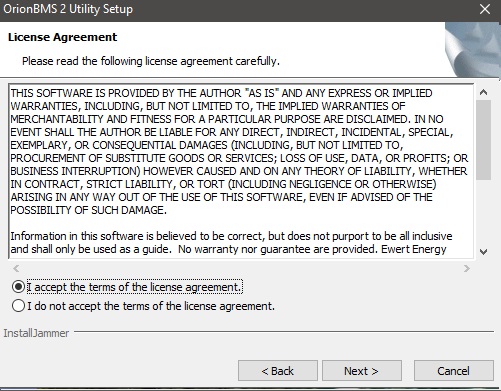 Check box as shown.
Click Next
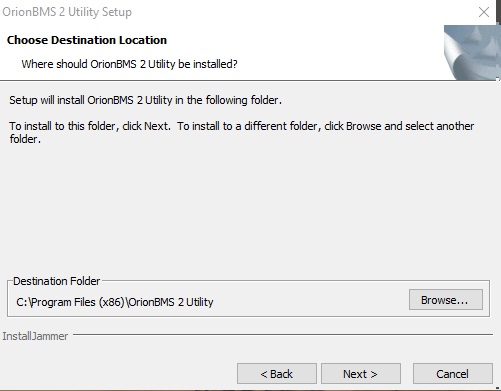
This is for the file location where the program will be installed. Typically, you will not change this unless you understand what you are doing. Click Next
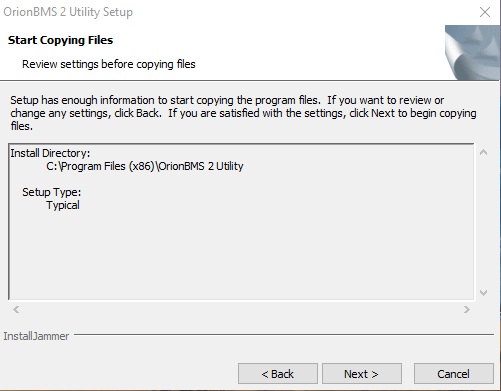 Click Next
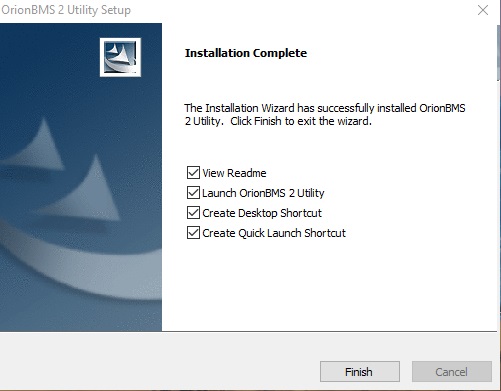
Installation will take place and then show this screen. Click Finish
Program will open. This program does require JAVA. If you do not have JAVA installed onto your computer, you will be directed online for the installation of JAVA. Follow each of these steps to install JAVA.
The shortcut for this newly installed program will have an icon looking like this:

Once program is open you will see a screen like this.

Installation is completed.
Now to connect to vehicle plug cable into OBDII port above the accel pedal. Have the USB side of cable plugged into computer. If vehicle will not powerup have the front inlet plugged in to AC power as if it was charging.
Click on

Popup window will come up.
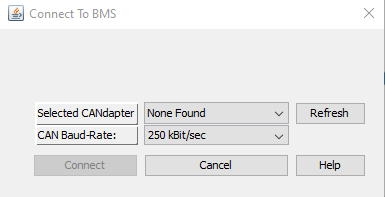
If Selected CANdapter shows "None Found" as shown here either cable is not plugged in to computer correctly or driver was not installed correctly. You can try hitting  or close program and restart it or even restart computer. When its correct screen should look like this:
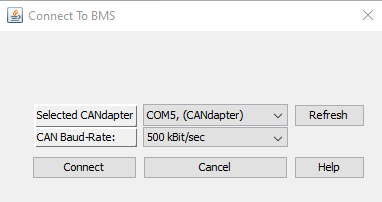
In my case it says COM5. Yours may be different just depends on your computer and the usb port plugged in. Take and change CAN Baud-Rate: from 500 kBit/sec to 250 kBit/sec then click 
If you see this error when trying to connect

Issues can be:
Vehicle is not powered or plugged in.
Baud rate was incorrectly selected.
BMS is not getting power from vehicles power supply or connection issue within vehicle from OBDII port to BMS which power to the BMS can be checked by accessing the BMS connector below the driver's seat.
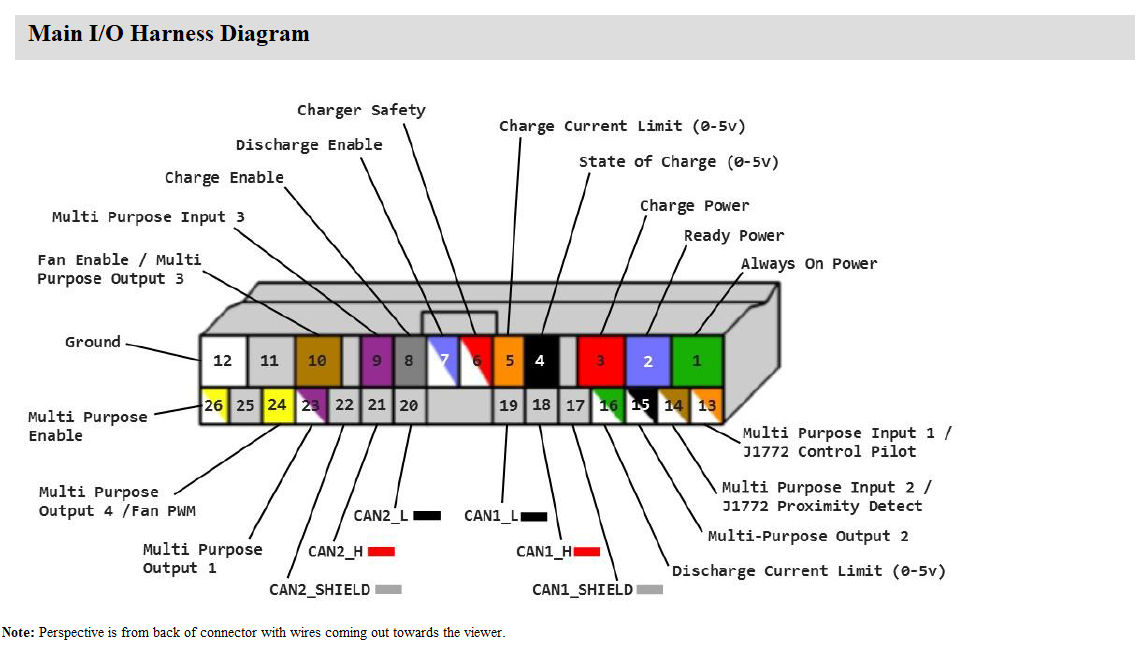
Check power between pins #1 and #12. Should have 12VDC. If so, then it's a connection issue between OBDII port and pins 17,18 & 19 which are the CANBUS connection or the BMS is bad.
If connection was successful, you will get popup windows asking specific questions. Read through and answer as pertains to your situation. In most cases downloading parameters is not needed unless you have guidance from us.